

Compare Pushchairs
Use our comparison tool to compare information on two pushchairs side by side.
read moreMountain Buggy Swift Review
I had wanted a Mountain Buggy Swift for a long, long time. It looked like a cute, colourful and practical pushchair. However, I knew from my experiences with the Duet that the handlebar was likely to be too low for me, so I was reluctant to buy a new version of the Swift just to try out. So when the opportunity came up to try out one of the older ‘One Tree Hill’ Mountain Buggy Swifts, I took it.
I have outlined the differences between the two versions of the Mountain Buggy Swift on the main photoset page. But the differences are mimimal and will be discussed here too.
Styling:
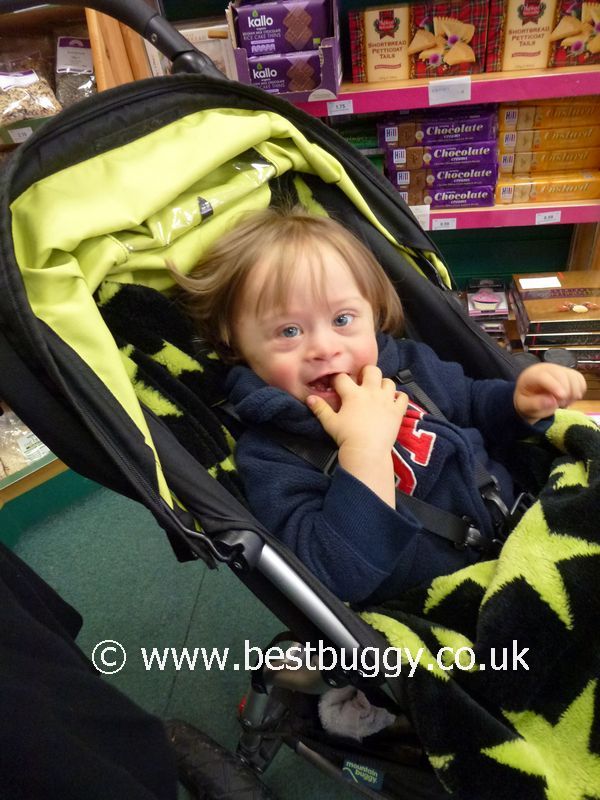
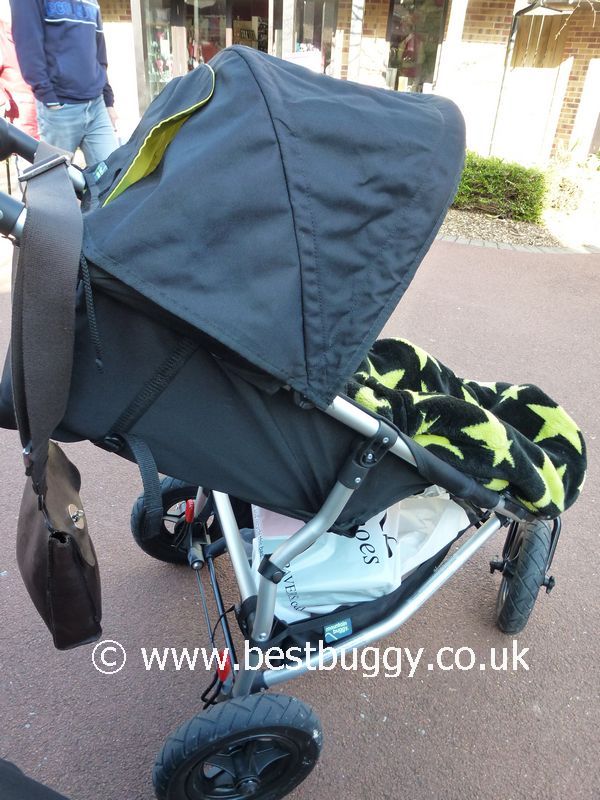
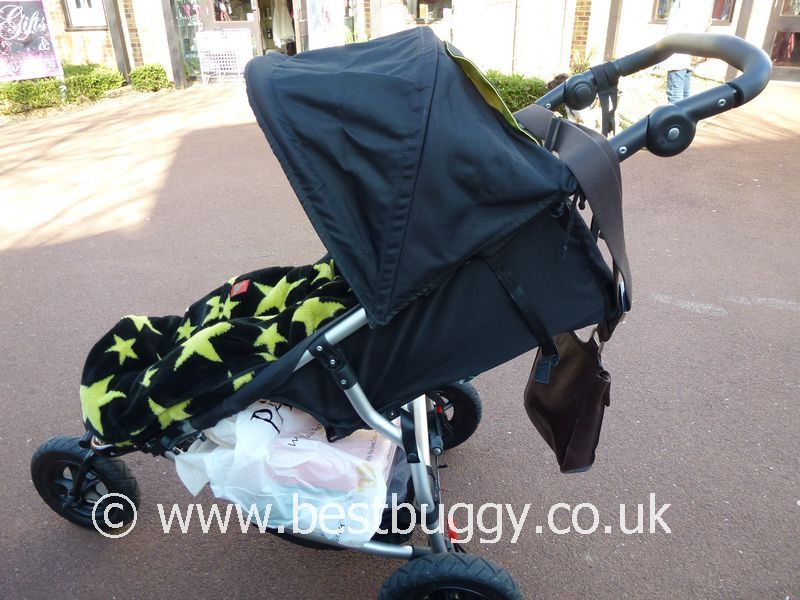
There is something wonderfully neat about the Mountain Buggy Swift. It has a slim chassis, neat small off road wheels, an elegant line, and should you wish there are two fabulous colours for inside the hood – Chilli (Red) and Lime (Green) plus also Flint (grey), to contrast with the black outside. It’s simple but stylish, but to some, it may be seen as utilitarian and functional. The chassis does look handbuilt with the tubing so obvious, the seats which popper and clip on, and the wheels which screw on at the front. My Swift was handbuilt in New Zealand, but there are only minimal obvious differences to the untrained eye eg rivets when you compare the old and new side by side. There are definitely no frills to the Swift! But the simplicity of the Swift is probably why it works so well, and is so loved.
We attended the Mountain Buggy University last year and learnt how aeroplane grade steel is used to manufacture the front axle, and frame of Mountain Buggies so that they can absorb shocks and impact from being off road. The chassis are very strong and the stylish black paintwork gets 5 layers of paint to help protect it from every day knocks and scrapes (a car apparently gets just 2 coats of paint!). Mountain Buggies are built for all terrain and literally to take up mountains. Their strap line is “Life without limit” and they want their pushchairs to meet that requirement. Given our Swift is an older one, it certainly looked in fantastic condition, so the extra paint coats really paid of!
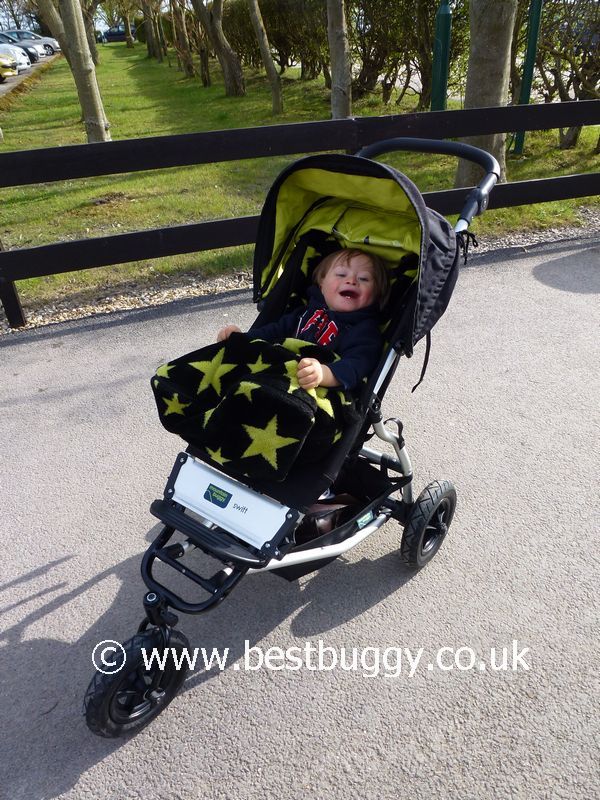
The easiest way to tell if a Swift is the old or the new version is to look at the logo at the front by the footplate, and the tags. The older version has a green logo with one mountain on. The newer logo is a brown colour and has two mountains on it. The new Swift also has the flick out mesh visor on the inside edge of the hood.
Size:
The latest Swift is compact with a 59cm long (front to back) wheel base and small 10″ air tyres. It is narrow at just 53cms wide too. However my Swift is approx 5cms wider because the wheel hubs on the older Swifts are not as flat as the newer model.
The Swift is perfect for tackling parks or rough ground, but yet is small enough not to look out of place around town. When you push the Swift, it feels neat and light. I have seen the Urban Jungle around town and thought it looked big in shops, but the Swift does not.
As I mentioned at the start, I suspected the handlebar height would be an issue for me based on my experiences with the Mountain Buggy Duet. I am 5ft 6ins, so not that tall, but I do like a tall handle. One of the Best Buggy Focus Group has a Swift which they use a lot and they are an inch taller than I am, and they find it absolutely fine. But the Swift handlebar is relatively short compared to say the bigger Mountain Buggy Urban Jungle and +One. The Swift handlebar ranges from 78cms to 106cms. However at 106cms the handlebar is nearly vertical and in this position, I was then standing almost on top of the pushchair, and I started to then find the Swift tippy ie back heavy, and the front wheel started to come off the ground. It wasn’t an issue with the handlebar in the lower positions, but then it wasn’t comfortable for me to push two handed (fine to push with one hand). I have a +One and the handlebar height of that is perfect for me (78-114cms).
I recently went to a pushchair shop and was chatting to a lady that I attended the Mountain Buggy University with. She owns a Swift and is taller than me and she was surprised when I said the handlebar was short. I told her to turn around and look at the shop, and even with the handlebar at its highest, the Swift was noticably shorter than all the other pushchair handles surrounding it. I think this is a point worth noting because in a shop / empty / one handed a pushchair handle height always feels ok! Its only when you get out using it that you start to notice if the handle actually is right for you.
Fabrics and Harness:
The Swift fabric is very hard wearing 600D polyester. It is water repellent and long lasting. It is easy to remove by undoing the poppers and buckles. I believe the older version is fine to simply pop in the washing machine (after removing the back wires / wadding). I know ours had been washed and was beautifully clean. However the new 2010 version, we believe can not be machine washed but the fabric is easy to wipe down. Our fabrics still looked as good as new to be honest, even though it is several years old.
The harness is a good one. Ours was easy to do up and to undo. However the new Swift has the new Mountain Buggy style buckles which require two hands to open. These are meant to be child proof, but they are also fairly adult proof too and I find it frustrating to need two hands to open them. But I can equally see that the old Swift buckle is probably too easy for a child to undo.
However both old and new harnesses involve a few (in the words of a friend) ‘ninja hand and finger movements’ to alter the harness height! Thankfully she did her new version one before I did, and gave me helpful hints like removing the fabric from the chassis and not trying to do the middle height setting! I have to say I did try to do the middle setting as really it is the one my son needs, but I couldn’t for the life of me work out how to get the buckles through the black parts surrounding the harness on the seat. I have to say I was very glad that I wasn’t attempting to set the Swift up for a baby on the lowest setting. I really hope that the Swift gets the Twist and Slide harnesses that other Mountain Buggy pushchairs have. I like a pushchair that can be easily adapted for either of my children and the Swift harness, whether old or new version, is really not friendly for this!
Child Comfort and Seat Recline:
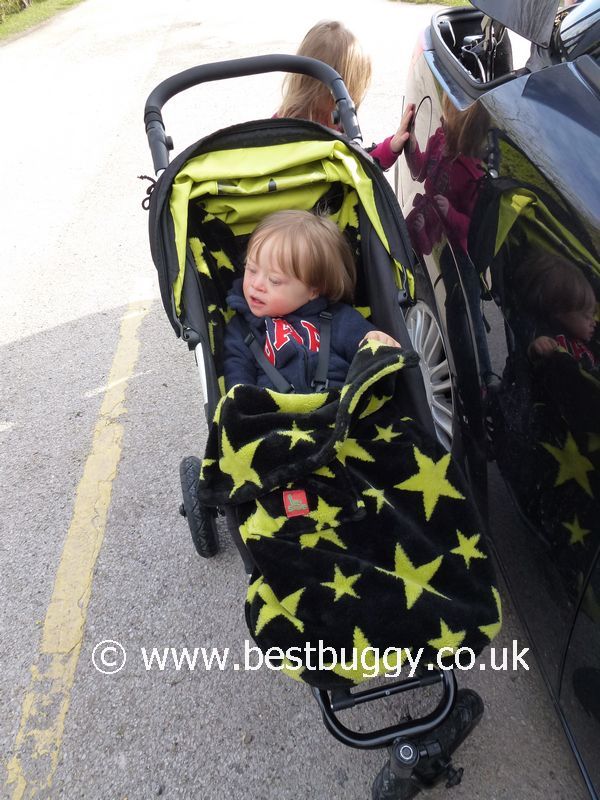
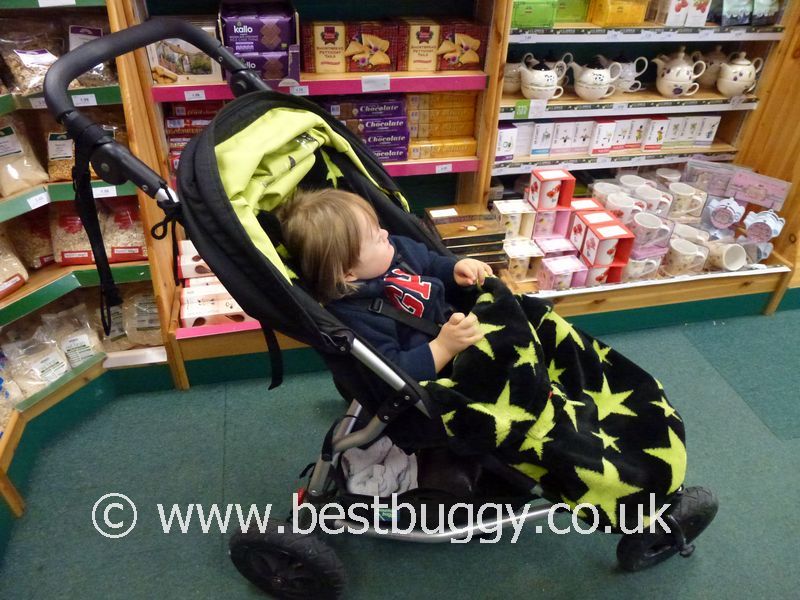
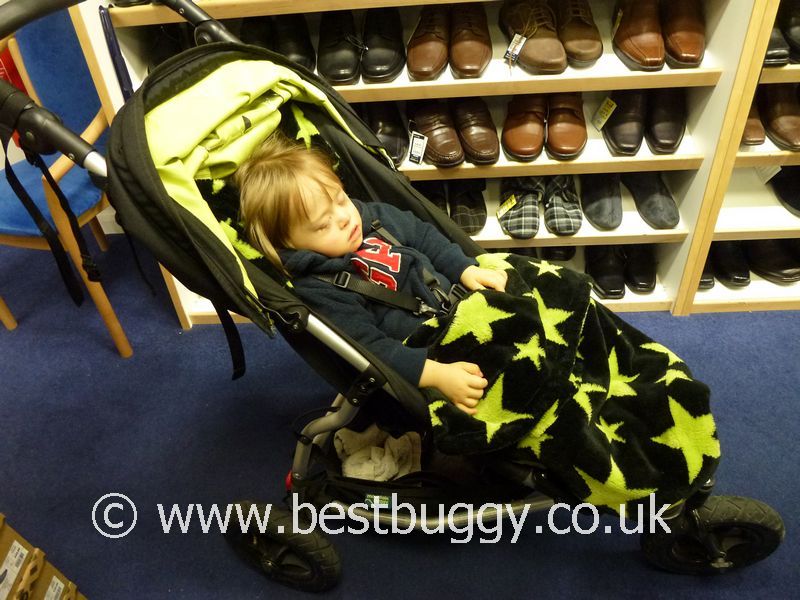
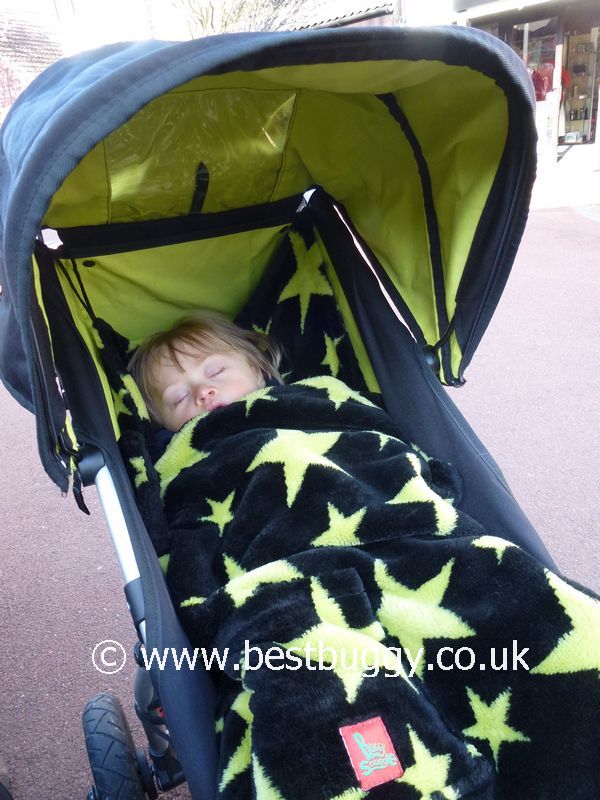
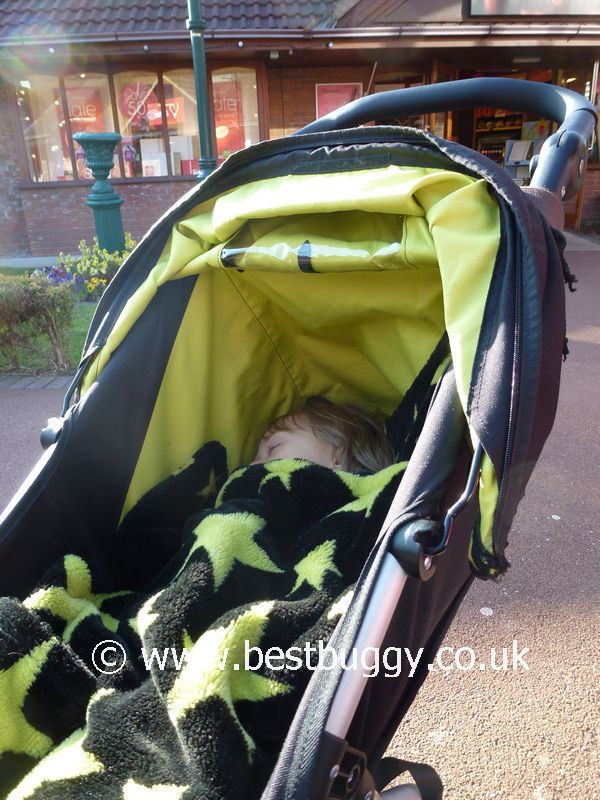
The Mountain Buggy Swift is a sling type seat. The seat is quite reclined even when upright. As our photos show, its reclined enough that our youngest could fall asleep and be quite comfortable still sat upright. However if you tuck the recline fabric behind the seat, then the seat does sit more upright. There are two issues with this: first it can be hard to pull the fabric forwards enough to then tuck behind whilst the child is in the seat, and secondly its incredibly hard then to recline the seat back down without removing the child or bending them in half first! So sitting the seat fully upright is a useful trick but something best done for an older child who doesn’t nap, so that you avoid having to set the seat back up each time.
Related to this, is that when a child is sat upright after being reclined, the fabric from the recline bunches up around the child’s head inside the seat. This doesn’t seem as bad with the Swift, as with the Duet, but it may be because our Swift is an older pushchair and the fabric has softened? But the advantage to this, is that unlike other other leading off road pushchairs, there are no fabric joins, open seat backs or mesh panels behind the child’s head, so that they are kept cosy, warm and protected against bitter winter winds. I have to say I do like this, and I think its been a reason why our son slept so well in the Swift. Using a liner or a footmuff does protect the child from the bunching up of fabric, as it is hidden behind the liner or footmuff. Using a liner also gives the child some side impact protection from bumpy roads, crossing streams or simply mum or dad being too over enthusiastic (as I was once with the +One!)
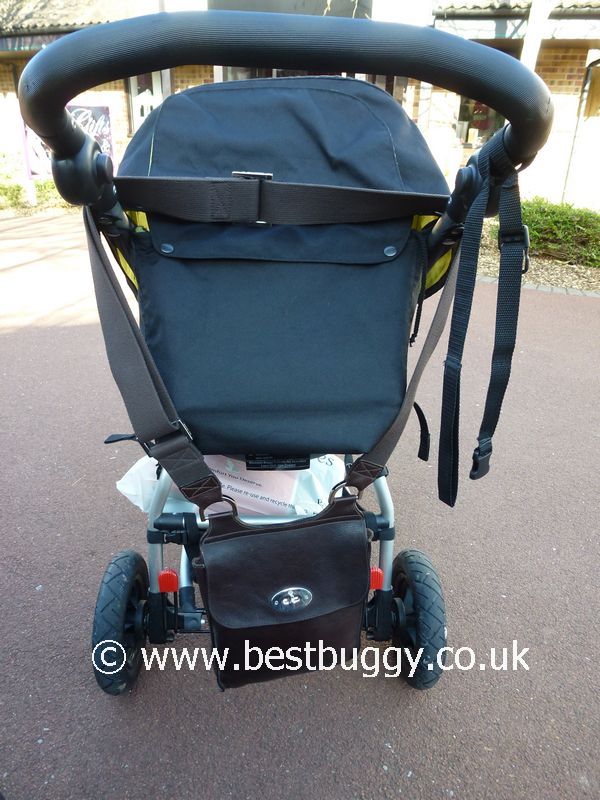
The recline itself is easy to do. There are two straps, one on either side at the rear of the pushchair. Its simple to release these off and the fabric simply drops down (at the pace at which you pull) and can be left at any point between upright and lie flat. Pulling the child up is a little harder, because you need to also push the seat a little (depending on the child’s weight). However we found the Mountain Buggy recline easier to draw up than say a Baby Jogger single recline strap, because you can pull one side up whilst using your hand to push, and then do the other side up.
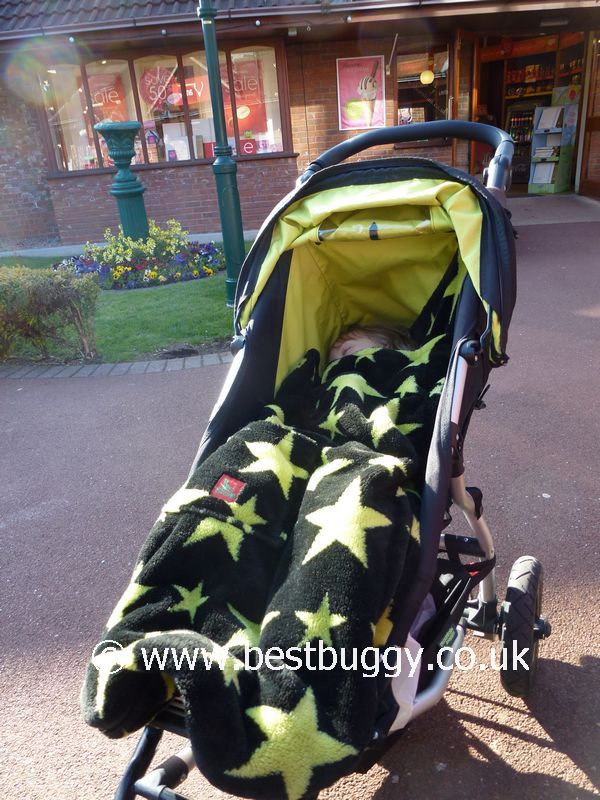
As the photos show, the Swift was just right for our 3 and a half year old. She just nicely fitted into the seat and could get under the canopy. The footrest was just right for her at present but I have seen her stretch out and put her feet onto the bar above the wheel at times. I would say she was probably at the maximum height for the Swift (She is 102cms tall and in age 4-5 clothing) although she is a long way off the maximum seat capacity for this pushchair at a massive 35kgs. I would have happily used the Swift for her if necessary for a few more months, but it wouldn’t have lasted a huge amount longer. Mountain Buggy suggest that the Swift is suitable for an up to 6 year old, but if you are thinking of buying this pushchair for an older child, I would suggest you try your child in the seat first.
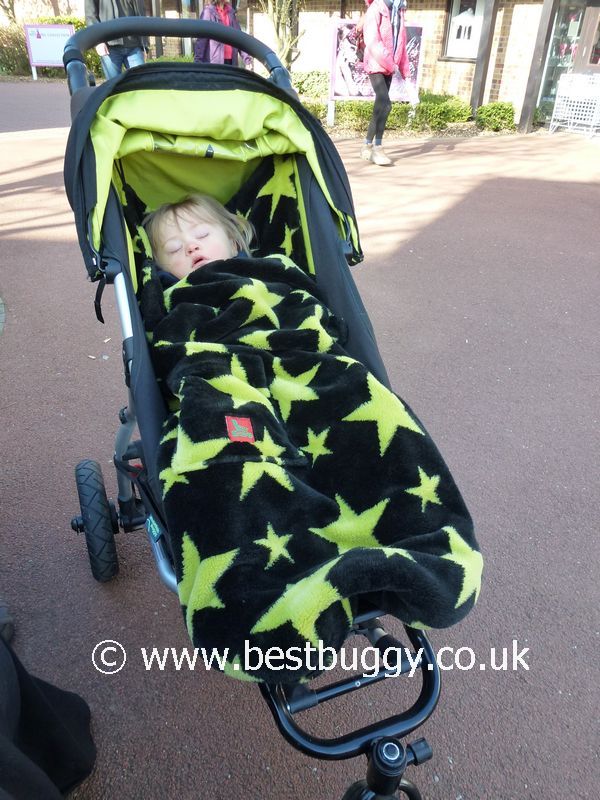
However the Swift very much suited our youngest at 20 months old! He loved the Swift and would fall asleep within minutes of being snuggled into his BuggySnuggle in the Swift. He doesn’t fall asleep in many pushchairs! But I think the angle of the seat was enough for him to see out but yet have a comfortable slight recline. He has spent many happy hours in the Swift watching me taking photos! He has plenty of leg length and seat height to grow into.
Carrycots & Car Seats:
The Mountain Buggy Swift can take a carrycot or car seat which makes the Swift a very versatile travel system. The carrycot requires the removal of the seat fabric before it can be attached. The carrycot simply clips on into place. The car seat can be fitted on with the seat fabric attached using an adaptor. Not removing the fabric to add on a car seat is useful if you do not wish to use a carrycot, but instead wish to place a newborn directly onto the lie flat seat (suitable from birth)
Basket:
The basket on the Swift is excellent. Its a good size with fairly high sides and with two useful pockets down each long side. We managed to get several bags of shopping in the basket, and I loved the side net pockets – I always knew where my camera, keys or purse was! The basket easily comes off for cleaning. The new Swifts also come with a bottle holder. We have one on our +One and its fab for popping a bottle of water, or even a baby bottle in. Or simply to stuff letters from nursery or your purse in!!
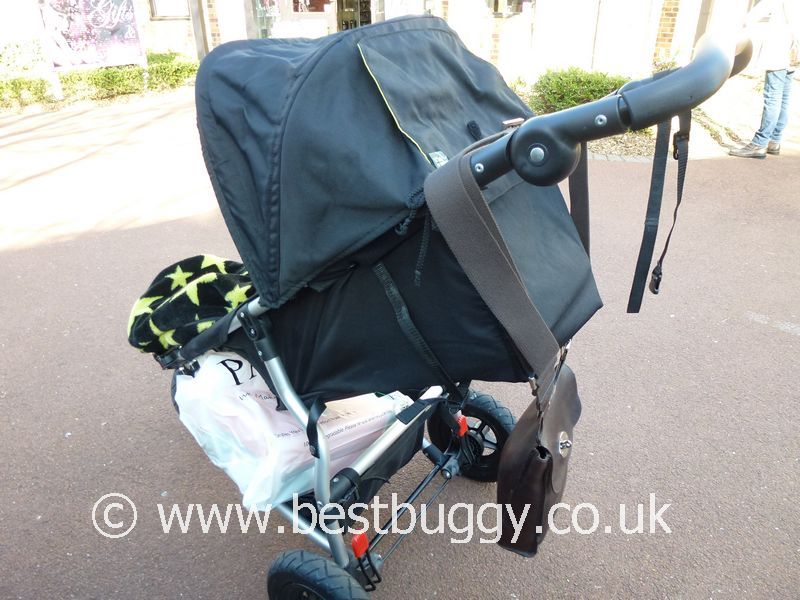
Hoods:
The hood on our Swift is slightly different to the current version. We believe that the ratchet system is slightly different and the new Swift models have a flick out mesh sun visor. I thought the hood on our version was just fine. The hood to be honest was a good size. It afforded some sun and wind protection but was not too low so that our son could still see out. We test some pushchairs where he can’t see out with the hood down and he gets very frustrated! I liked the well positioned Peekaboo window and especially the velcro to keep the flap rolled up. However if the recline fabric bunches up on the front of the seat, then as one of the photos shows, the fabric does obscure the view of the child.
Handling:
The Mountain Buggy Swift is great for nipping around shops with. Mr BB often took the Swift to the local supermarket or shop and I know for him, be preferred the bigger +One (he’s taller than I am) but he said the +One just felt more solid. I took the Swift on a longer shopping trip and it was no bother at all. It manoeuvered beautifully around shops and on all surfaces. It was neat when parked. The Swift just worked really well.
One of our Best Buggy Focus Group has just come back from a day trip on a train to a shopping centre and has been singing the praises of her Swift for its nippiness, manoeuverability and all round usefulness. She even managed to fold the Swift and then pulled it easily folded up a flight of stairs, across a railway bridge and down the large flight of stairs at the other side too! She was elated because it was the easiest pushchair (of many!) that she’s ever been able to use to cross this railway bridge. She said it left her other hand free to hold her son’s hand or reins or shopping. She even suggested that the Swift would probably be good to use in London on the Underground and on escalators although it could be tricky juggling everything.
We did not get opportunity to take the Swift for some serious off road tests, but it handled the surfaces eg gravel, unmade roads, cobbles etc well. The Mountain Buggy Swift was easy to get up kerbs and down again. The only comment we will make is that although the Swift did handle what we threw at it well; our +One handles everything even better – but it is bigger and has larger wheels! I think if you want to do some serious off roading then the Urban Jungle would be a better option. However if like us you are town / car based then the Swift is easier to lift in and out of the car but yet gives you off road capabilities for a trip to the park or beach or a walk through the woods – which to be honest is what an average family probably wants from an off road but yet every day pushchair.
The handlebar is covered with a ribbed rubber. I have to say we here at Best Buggy HQs are not fans of the Mountain Buggy handlebars and we usually cover them. But thats a personal preference. The handlebar covers do seem to be pretty robust. To say our Swift is a few years old, and that the Swift is stored on its handlebar, there were only a few tiny nicks in it.
There is a safety strap on the handlebar to stop the Swift running away from you. I have to say that it is a good idea to use this with the Swift, as it is fairly easily blown along by a good gust of wind!! I had to apply the brakes more than I would usually when taking photos!
Brake:
The Swift has a large wire pull down brake which takes a bit of a pull to flick down, but when it does it clunks satisfyingly into place. There are red caps on either end to make it clear where the brake is, and whether it has been applied or not. We found it easy to apply in normal shoes, but I suspect it isn’t that easy in soft shoes or flip flops. I can’t say we are a fan of these large brakes, but I do always feel reassured that the brake is well and truly on!
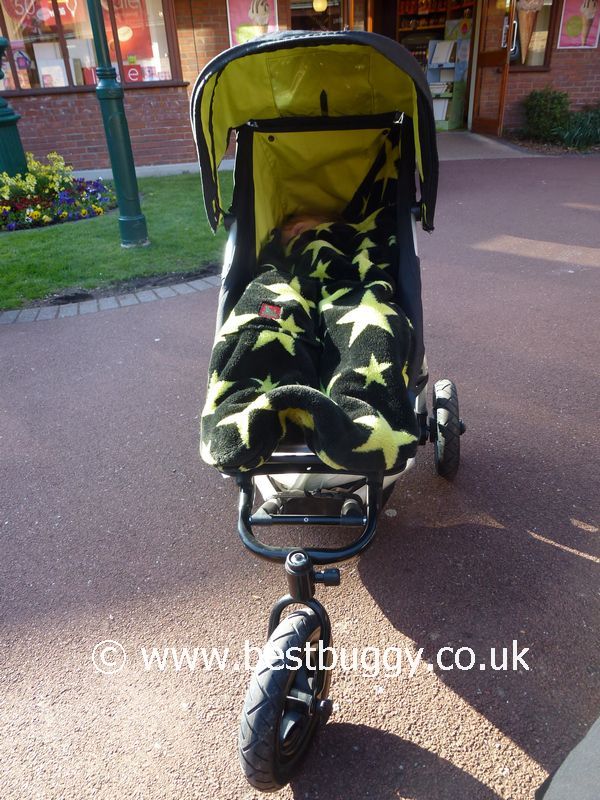
Tyres:
The Swift has 10″ air tyres. The front wheel can swivel or lock by simply turning a knob – which has pictures of a lock / unlocked padlock on which is helpful! The rear wheels can be easily popped off, and then cleverly the back axles retract in so that they don’t catch on your clothes, furniture or poke anyone! I have to say we did get a puncture, and ended up Sliming our Swift wheels. DH did find the tyre hard to change, but then he’s not the best at DIY!!
Fold:
The Mountain Buggy Swift has a long fold. I remember being shown the Swift fold for the first time and being shocked when it slid to the floor in a long slim piece! I now know that all Mountain Buggies fold in a similar way, but after being used to compact folds, the Swift came as a bit of a surprise. You do need a fair bit of floor space to be able to fold and unfold the Swift. So whilst the Swift appears to be a cute little pushchair, you will still need a fairly big car boot to fit it into. It did take up much of our boot, but it could also stand sideways on its edge in the boot which is useful if you have a car with a slim boot eg a Zafira with all the seats up. However the Swift does freestand nicely on its handle, so doesn’t need a lot of floor space to store at home on its end.
It is very easy to fold the Swift. At the front of the Swift, either side of the footplate are two catches. Simply slide the cover off the one on the right hand side and then slide both catches up simultaneously and the Swift slowly slides to the ground. There is a storage strap with a clip on which is simply passed around the chassis / brake and holds the pushchair together for carrying or storage. Although it is easy to fold the Swift, it does involve running around to the front and bending over before picking the pushchair off the floor from where it ends up! There are definitely better folds on pushchairs!
Putting the Swift up, is very simple. Simply undo the tether strap, lift the handle up and flick open. The Swift should click into place as you do this leaving it solid and ready to use. If the storage strap isn’t used when storing in a car boot, then by the time the pushchair hits the floor it should be open and ready to go!
In Conclusion:
We really love the Swift. Its simple but effective and works really well both about town and in the places where we tried it off road. We would absolutely recommend it to anyone to whom the Swift appeals. We do suggest that you do buy from a reputable shop though, because two of the Best Buggy Focus Group have had issues with 2011 / 2012 Mountain Buggies from new, and I know of two friends with split handlebars. All have had to obtain replacements parts or had to return their pushchair. Having had both an original New Zealand hand built Mountain Buggy, and two new Chinese built Mountain Buggies, I can see differences in the quality.
I have to say, it was the correct decision for us, not to buy a new Swift, because as suspected, the handlebar was too low for me to be comfortable (I am 5ft 6ins but like a tall handlebar). But this was a personal issue and I still think the Swift is a thoroughly cute, colourful and practical pushchair. I will always look back on these photos and review with fondness of what is a overall a really good pushchair.